Dependency injection (DI) is a technique widely used in programming and well suited to Android development. By following the principles of DI, you lay the groundwork for good app architecture.
Implementing dependency injection provides you with the following advantages:
- Reusability of code
- Ease of refactoring
- Ease of testing

Dependency injection library is hard to use, this article provides the simple and easy to follow steps to Implement Hilt in your Android app.
Step 1 :
Setup Hilt Dependencies
In build.gradle(project level), add Hilt Android gradle plugin.
// Top-level build file where you can add configuration options common to all sub-projects/modules.
buildscript {
    dependencies {
        classpath("com.google.dagger:hilt-android-gradle-plugin:2.44")
    }
}

plugins {
    ...
}
..
In build.gradle (app level), add kotlin-kapt and dagger.hilt.android.plugin.
plugins {
    ...
    id 'kotlin-kapt'
    id 'dagger.hilt.android.plugin'
}
..
Add Hilt implementation dependencies.
dependencies {

     // Dagger Hilt
    implementation 'com.google.dagger:hilt-android:2.44'
    kapt 'com.google.dagger:hilt-compiler:2.44'


     // Picasso : To load image
     implementation 'com.squareup.picasso:picasso:2.71828'
}
..
Step 2:
Add @HiltAndroidApp in your application class
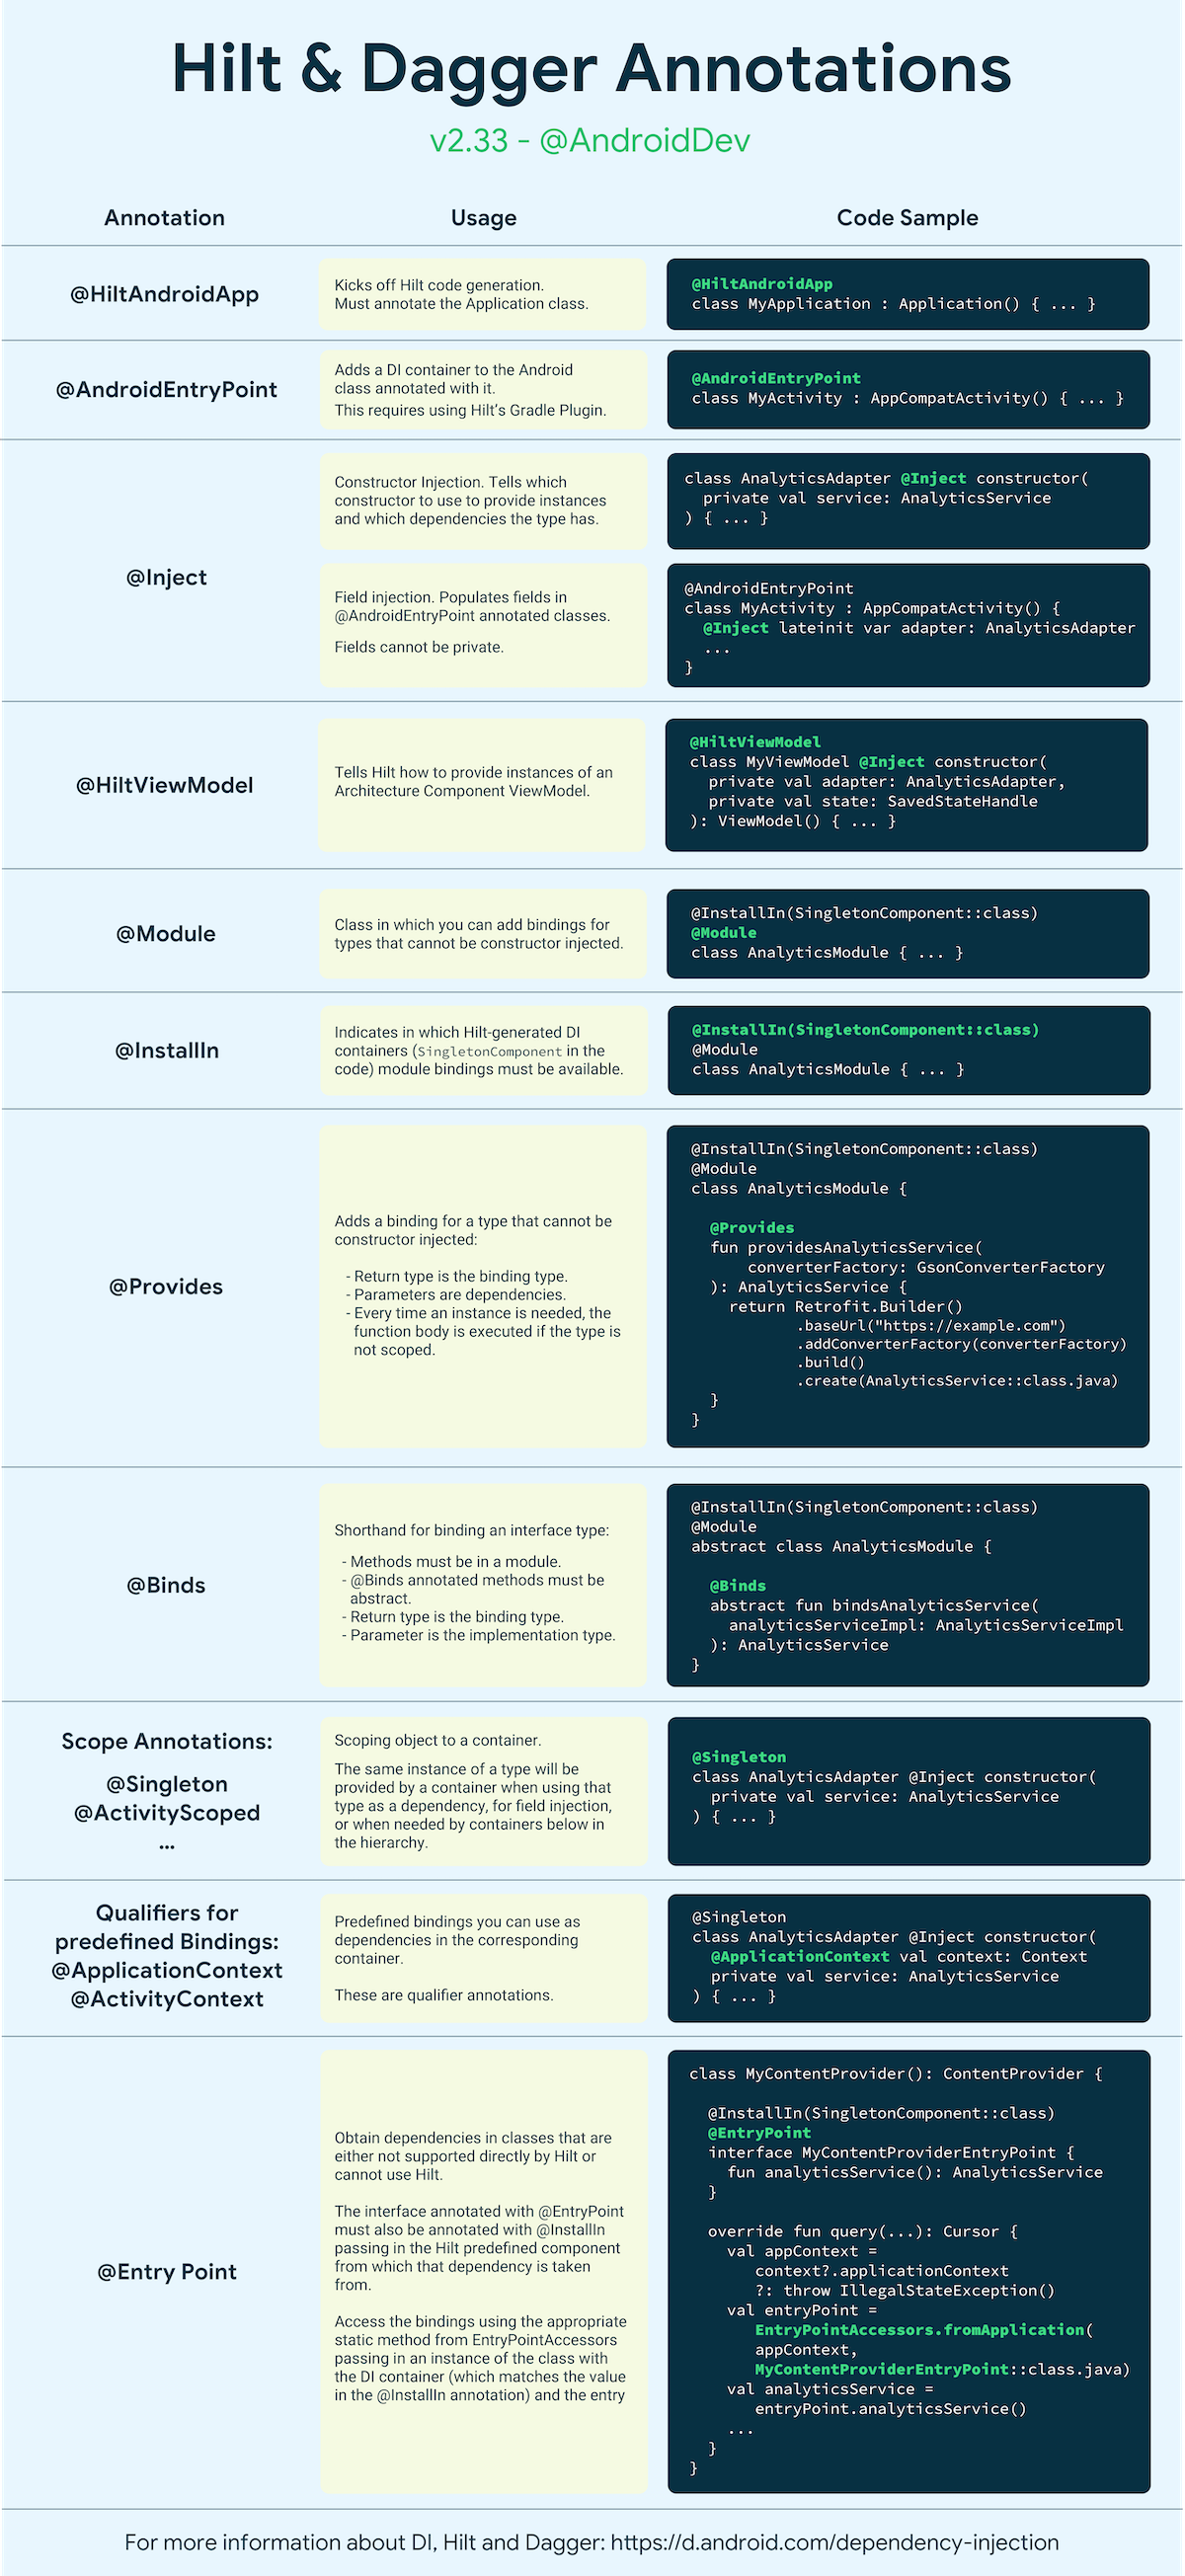
Kicks off Hilt code generation. Must annotate the Application class.
@HiltAndroidApp: we need to apply these annotations to our Application class, It will trigger the Hilt code generation and in the process will create our App Component.
@HiltAndroidApp
class MyApplication: Application()
Also, you need to update android:name in the AndroidManifest.xml.
<manifest>

    <application
        android:name=".MyApplication"
        ...
    </application>
</manifest>
...
Step 3:
Add @AndroidEntryPoint in your activity and fragment:
If you want to inject your dependencies in activity, you only need to add @AndroidEntryPoint in your activity class. However, if you want to inject your dependencies in fragment, you need to add @AndroidEntryPoint in both fragment and activity that hosts the fragment.
@AndroidEntryPoint: with this annotation Hilt will generate a DI Container for each Android Component so respective components can add the dependencies.
@AndroidEntryPoint
class MainActivity : AppCompatActivity() {
    ...
}

@AndroidEntryPoint
class FirstFragment : Fragment() {
    ...
}
..
Step 4:
Add @Inject lateinit var to perform field injection
Use @Inject lateinit var on the class field where you want Hilt automatically create the instance for you.
In this example, Hilt will automatically create the picassoUtil instance for you after the fragment is first attached (i.e. after onAttach() is called)
@AndroidEntryPoint
class FirstFragment : Fragment() {


    @Inject
    lateinit var picassoUtil: PicassoUtil


    override fun onCreateView(
    ...
}
..
Step 5:
Add @Inject constructor() to tell Hilt how to provide dependencies
Hilt doesn't know how to create the Picasso. To do that, you need to add @Inject constructor() into the classes.
class PicassoUtil @Inject constructor(private val picasso: Picasso) {

    fun loadImage(imageUrl: String, imageView: ImageView) {
        picasso.load(imageUrl).into(imageView)
    }
}
..
..
Step 6:
Add @Module and @InstallIn to create Hilt Modules
For those class that Hilt doesn't know how to constructor inject the dependencies, you need to create the Hilt Module.
@ Module: It is used as we used in Dagger Modules, when we want to create an object for any component dependency, mostly used for the third party or where we can not do constructor or field injection(classes which we don’t own)
@Module
@InstallIn(SingletonComponent::class)
object PicassoModule {

    @Provides
    fun providesPicasso(): Picasso {
        return Picasso.get()
    }
}
@InstallIn: Installin tells the container where the bindings are. @Installn (ActivityComponent::class) helps activity component class’s dependency to inject via hilt. This annotation means that all of the dependencies in this Module are available in all of the app’s activities.
@InstallIn specify which Hilt component this module should be installed into which is related to the component scopes.
The components used are shown in the table below:
| Component | Injector for |
|---|---|
SingletonComponent | Application |
ViewModelComponent | ViewModel |
ActivityComponent | Activity |
FragmentComponent | Fragment |
ViewComponent | View |
ViewWithFragmentComponent | View with @WithFragmentBindings |
ServiceComponent | Service |
Inject instances with @Provides
Adds a binding for a types cannot be constructor injected:
* Return type is the binding type
* Parameters are dependencies
* Every time an instance is needed, the function body is executed if the type is not scoped
..
..
GET source code on Github:

Tags:
Android
